“**Editors Note: This post was written in 2011, and the recipes in this post are the most popular recipes on my website! I deleted a lot of the old text to update this page, but if you scroll down you will find the recipes! ”

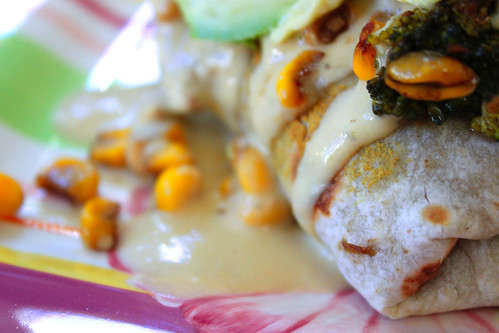
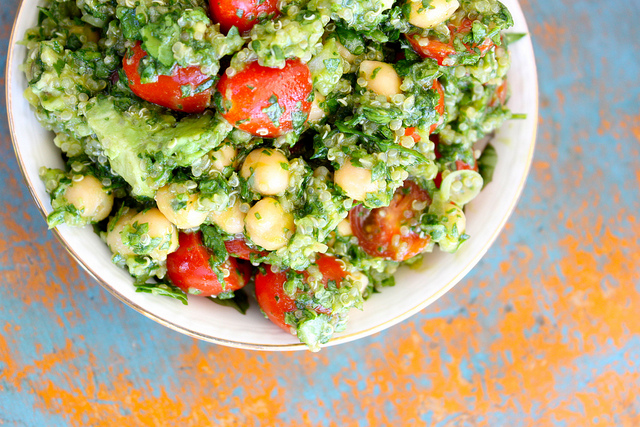
Lemon Quinoa Cilantro Chickpea Salad
Ingredients
1/2 c. dry quinoa
1 1/2 c. vegetable broth
(OR 1 c. prepared/cooked quinoa)
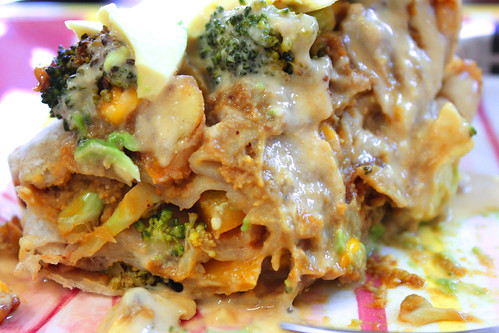
1 c. garbanzo beans, drained and rinsed
1 c. cherry tomatoes, halved
1/4 diced onions
3 cloves garlic, chopped
2 avocados, diced
1 bunch cilantro, bottom stems cut off
2 c. spinach
(dressing)
2 tsp. dijon mustard or plain mustard
zest of 1 lemon
Juice of 1 juicy lemon, or two not so juicy lemons :)
2 tsp. olive oil
1 tsp. honey
1/2 tsp. cumin
salt and pepper
Instructions
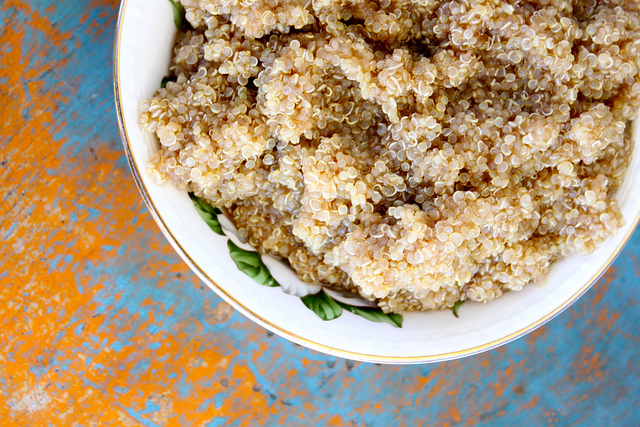
Prepare quinoa by adding quinoa and broth to a pot. Cook on medium/high until it begins to boil. Reduce heat to low, cover and simmer for 10-15 minutes until quinoa has cooked fully.
Once the quinoa is cooked, set it aside to cool.
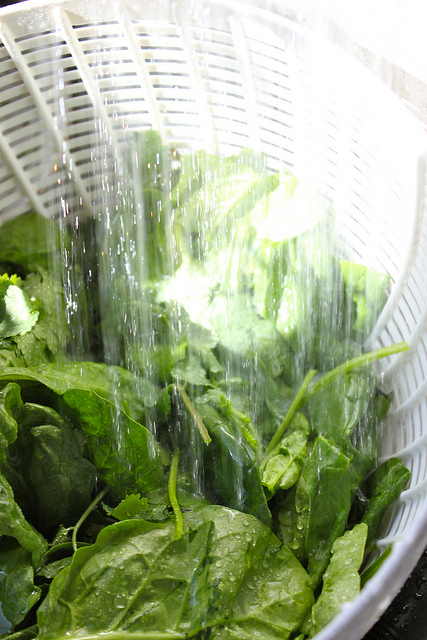
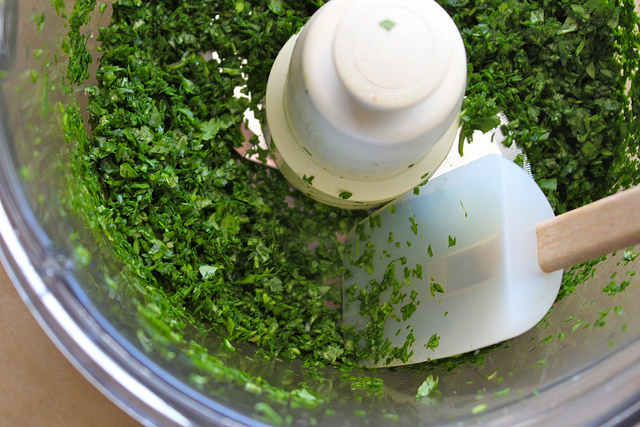
In a food processor, add cilantro and spinach. Process the greens until they are chopped up finely.
In a bowl, add the chickpeas, chopped greens, tomatoes, avocado, onion, garlic, and cooled quinoa.
In a bowl, whisk the dressing ingredients together. Pour over the salad. Mix it together.
Add salt and pepper to taste.
Let sit in the fridge until ready to eat! Enjoy!


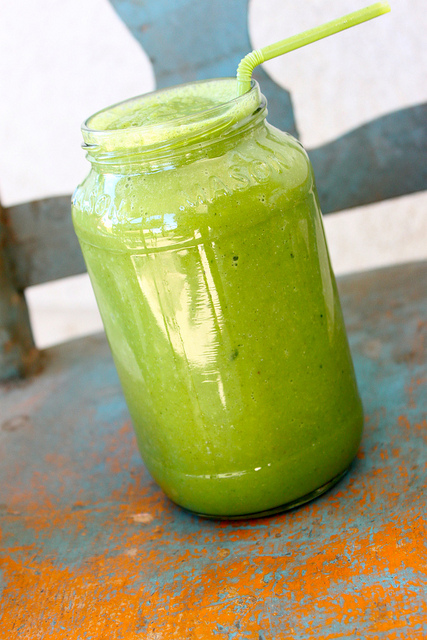
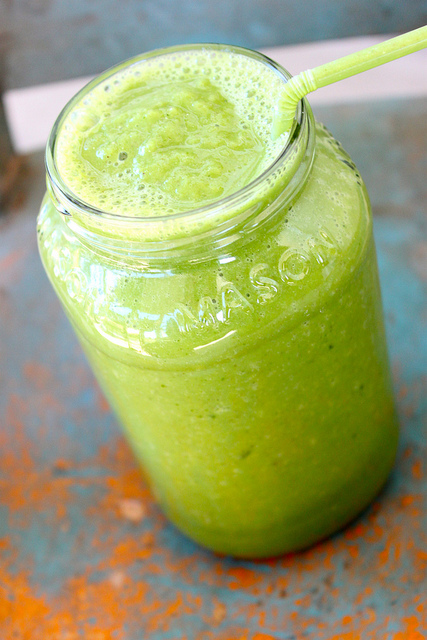
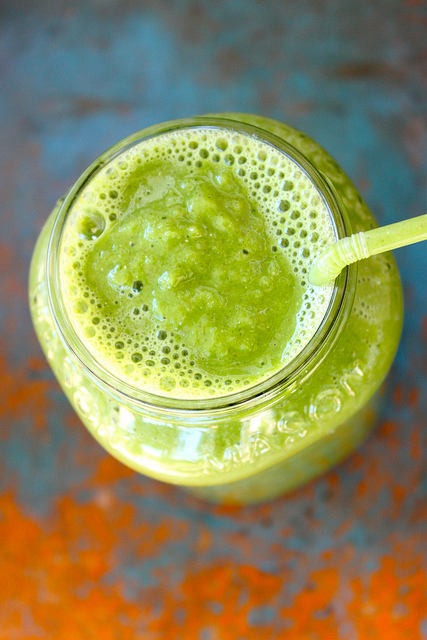
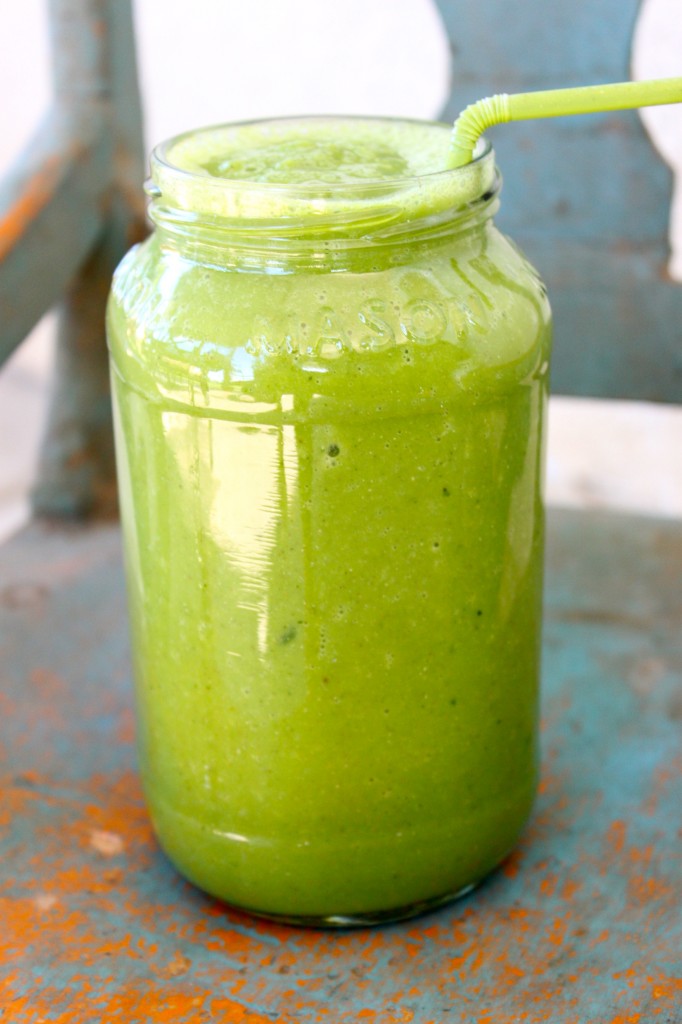
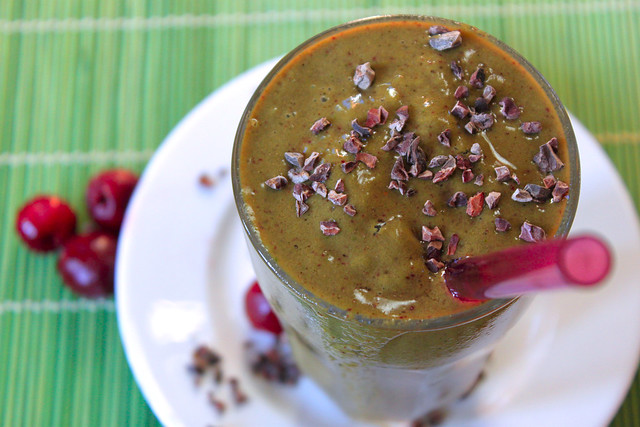
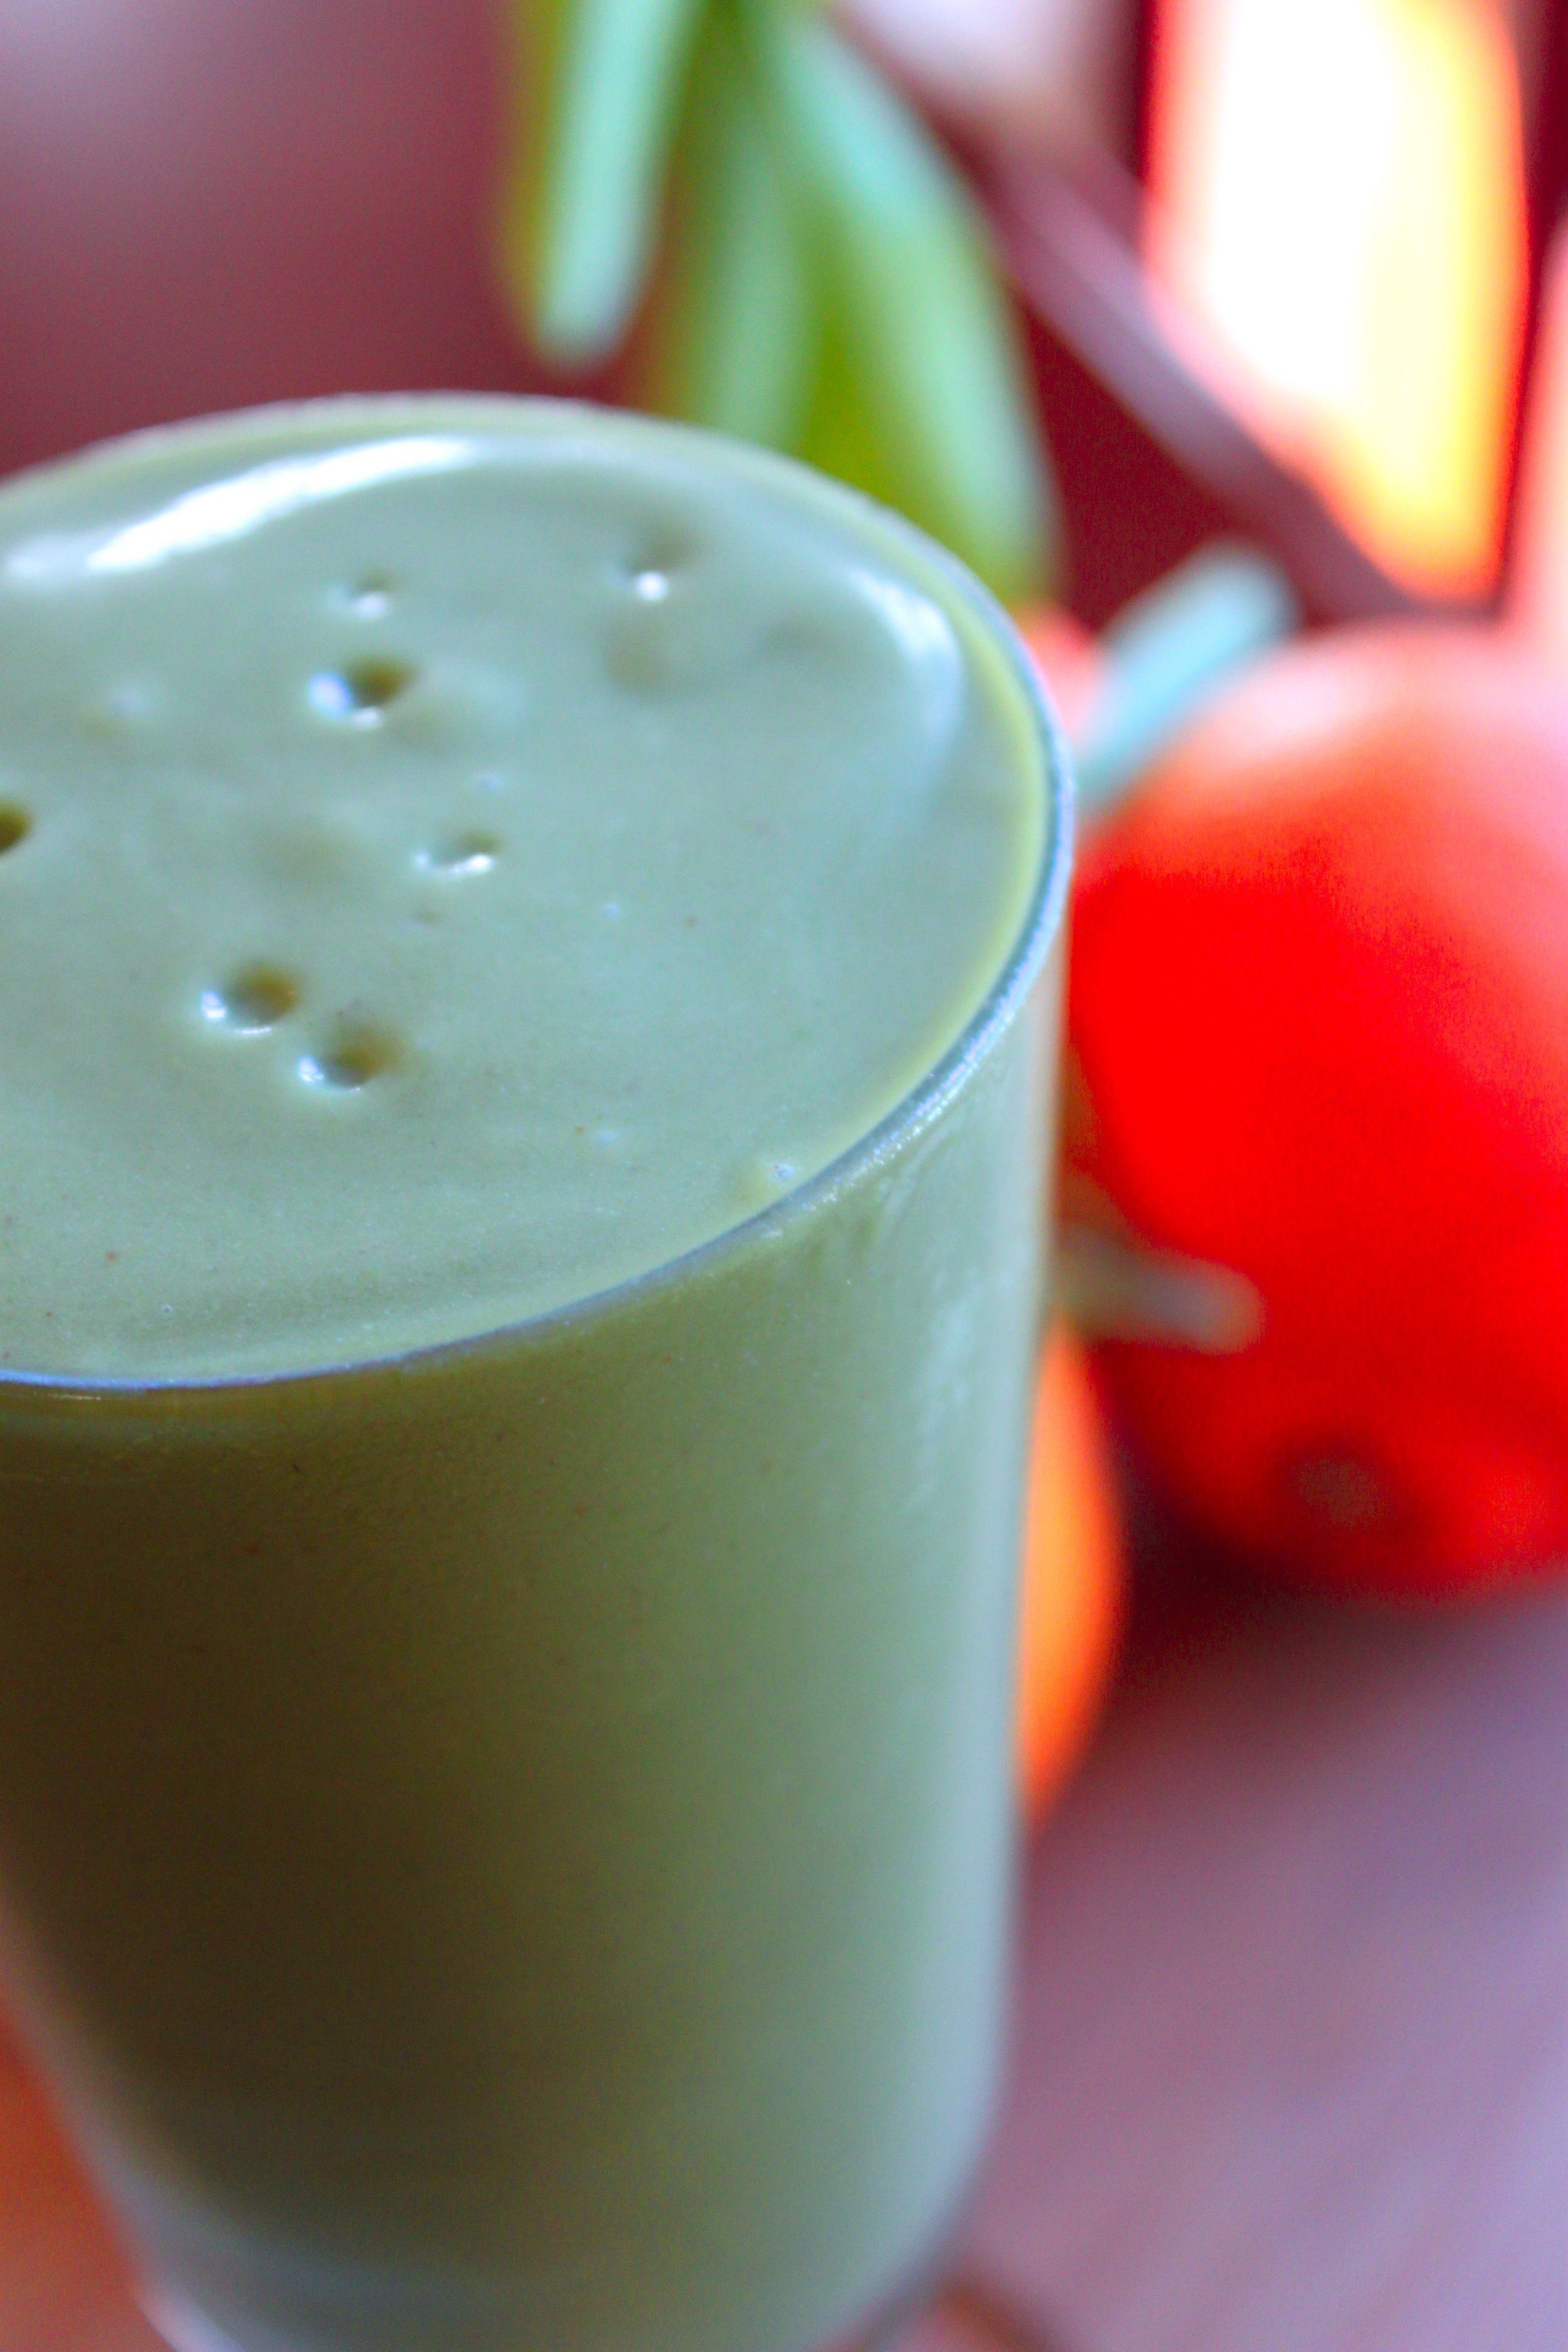
Everything Green Smoothie
Serves:
2-3
*This smoothie makes quite a bit and could easily serve two adults. Unless your like me and can eat for two, then you could drink it all on it's own. It could also serve 2-3 kids, one mama and 2 children...etc.. :-)
Ingredients
1 c. non dairy milk, more if needed for thinning out smoothie
handful of fresh spinach
handful of fresh kale, no stems
handful of swiss chard
2 green apple, cold and cit into slices/core removed
1/2 medium cold cucumber
1 frozen banana, sliced
1 TB. chia seeds
sweetener of choice, stevia is what I used/honey works well too (1-2 tsp.)
1 1/2 c. ice
Instructions
Add all ingredients to a blender and blend until creamy. Drink immediately. Enjoy!