
**Excuse the bad pictures :(! I was doing this project at night, and my house lighting is not sexy/flattering at all...**
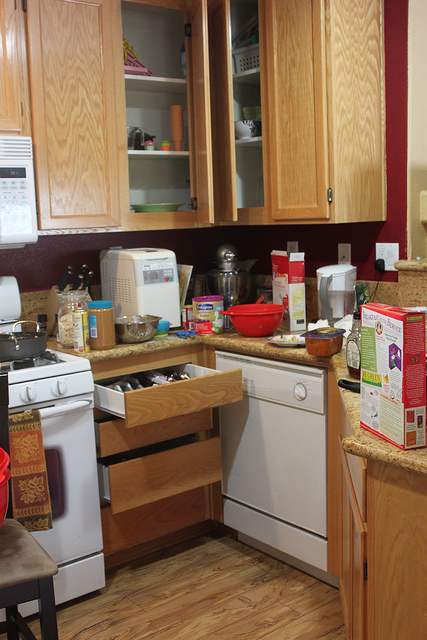
Frequently my kitchen is a disaster.
6216136641_d5b280ab7a_z
I try and blame it on my small apartment kitchen, but let's be honest...
I'm freakin' messy.
I'm a 7 bowls out, 9 different spoons, dirty sticky measuring cups, and flour all over my face kinda girl.
And if you think that's bad, you should see my closet.
Well, no you shouldn't, because you might not want to be my friend.
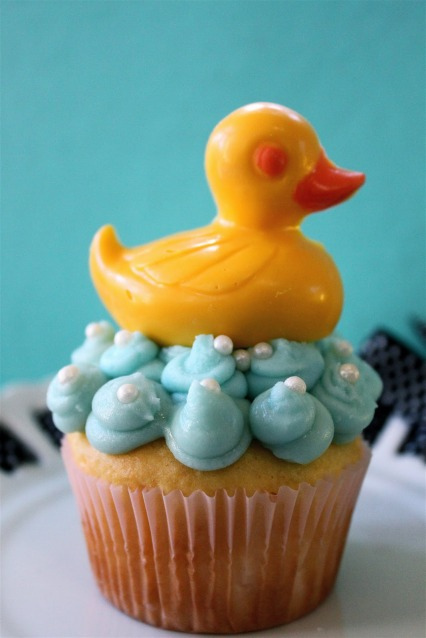
But one of the biggest messes I make in the kitchen is when I am doing cupcake decorating. Occasionally, I have friends/family on the side that allow me to bake/make/decorate cupcakes for a special occasion.
I've done simple things like baby showers:
5514744465_4891a92e6f_z
To big things like weddings:

5723375859_3387a15462_z
I'm no fancy pants, and it's really just a hobby, but I love to do it. One of my favorite things to use is gumpaste.
Gumpaste is basically sugar, and hardens when dry unlike fondant. It doesn't taste good, like fondant, and it's really just for decorations. Primarily, gumpaste can be used for really anything, but it is most often used to make flowers.
Today, I am going to share with you the Beginners of Basic Gumpaste.
Where to start. How it works? and simple cookie cutter flowers.
To start off, you need some gumpaste.
I buy mine pre made from Wilton, because it's just easier that way. You can definitely make it home made if you would like, but it's more work.
6216660322_ea6f0613e3_z
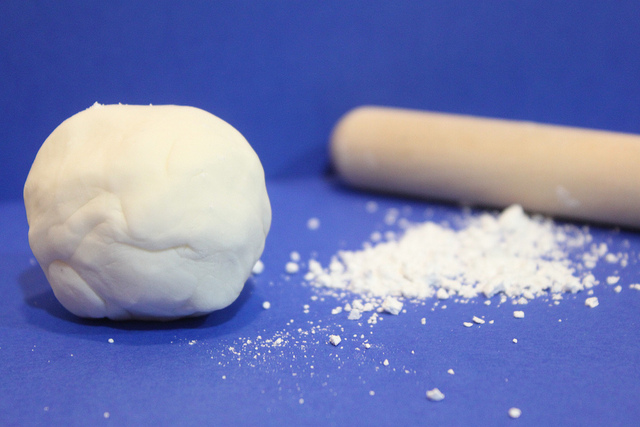
To start off, just rip off a piece of gumpaste, and roll it into a ball. Gumpaste get's kind of sticky, so I always have corn starch or powdered sugar near by to rub on my hands.
Next you will need some cookie cutter. ANY cookie cutter will do! If you want to get more into it, you can by really cool cutters online, but they aren't necessary. These are my favorite cutters so far.
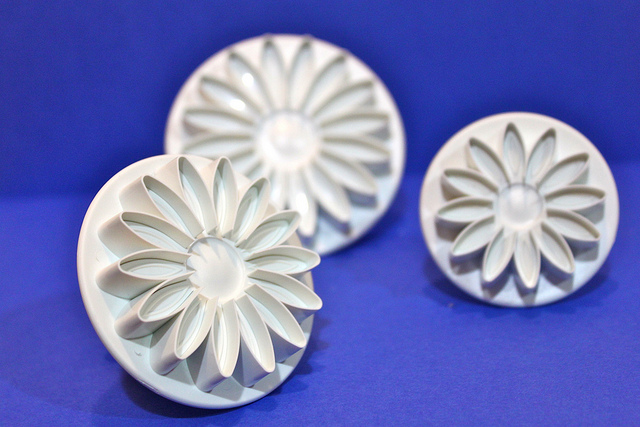
6216653354_ed644c9fd0_z
They are gerber daisies, and the cutter is called a plunger. The way it cuts, kind of reminds me of a punch card. You can find them online HERE.
Next you will need food coloring.
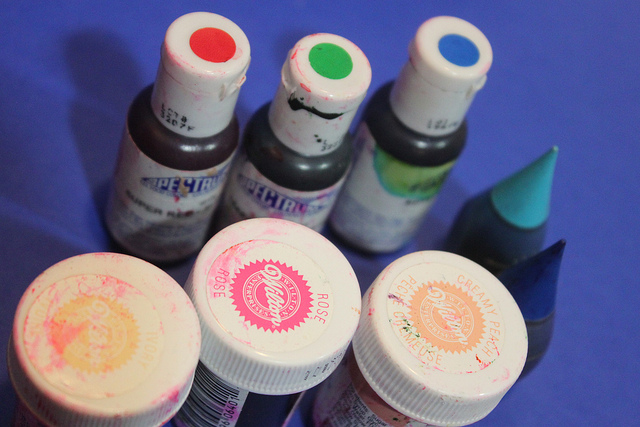
6216660806_b121daafd4_z
There are different brands of food coloring, and you can technically use any of them. BUT, I prefer the gel kinds. The ones you get in the grocery store are really watery (those are the ones with the pointy tops to the right of the picture). The gel colorings are really strong, and a little goes a long way.
When it comes to tinting your gumpaste, simple take a toothpick and insert it into the gel. Just barely dab it in, because a little goes a long way.

6216145183_238ff448bd_z
Then wipe the toothpick onto the gumpaste.

6216145335_da6f99e3b0_z
Roll and knead your dough until the color is fully incorporated into the gumpaste. You can add more coloring if desired.

6216136939_1ce1c3cc92_z
Next, take a cutting board mat and rub down with powdered sugar. (Any mat will do, just make sure it's non stick.) Using a small roller (which you can also pick up at a craft store), roll out your gumpaste to desired thickness.

6216138493_da5e1d9cf0_z
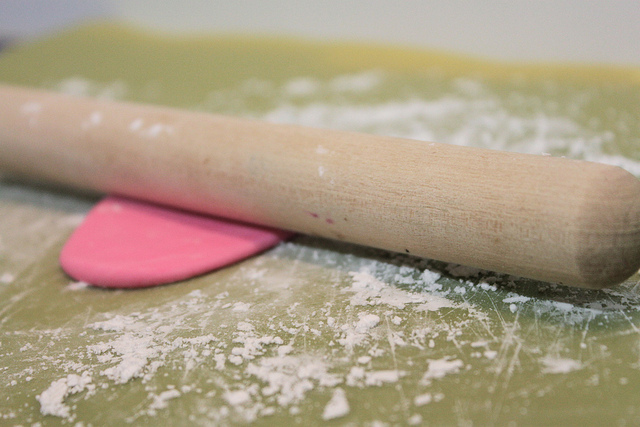
6216138749_ff695df743_z

6216654854_56c9303e8f_z
You want it thin..but not too thin.
Next, take your cookie cutters and cut out your shapes.
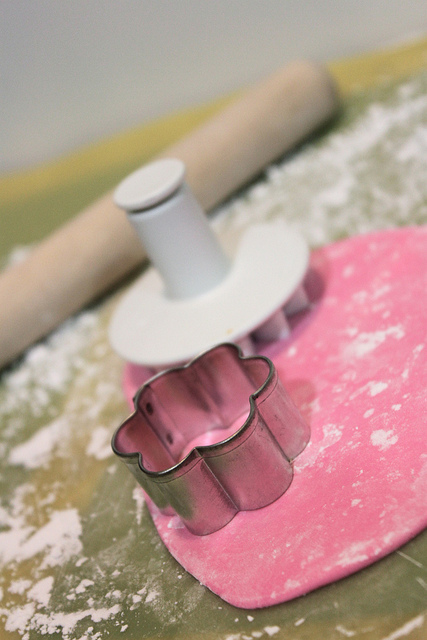
6216655116_18f8a475f6_z

6216139843_11ede639bd_z
Don't worry about all the powdered sugar, you can just brush it off with a little paint brush! :-)
You can also layer flowers, which I think it really pretty, whether it's the same color or different color.

6216142577_5712e8a8de_z
Now, in order for them to have more of a flower shape, instead of being perfectly flat, there are two things I like to do.
One, is using a cotton ball. I just lay the flower over it, and let it dry to that shape.
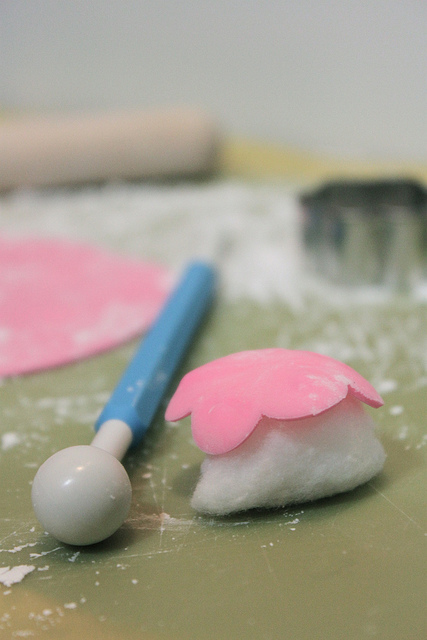
6216141191_03935c67ff_z
That little gadget next to the flower helps soften the edges by simply thinning it out, like so:
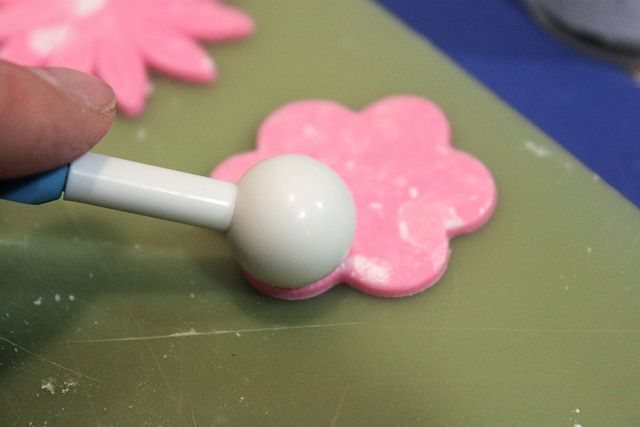
6216656568_ab6e252315_z
These tools can be found online, or at a local craft store.
I also love to use recycled egg trays. They are perfect for giving flowers shape!

6216141499_9d162079e8_z
Once the flowers have dried, which could take up to an hour or two, you can glitterize it!! :-) My favorite part!
I buy some edible glitter dust from a local store, but it can also be found online HERE.
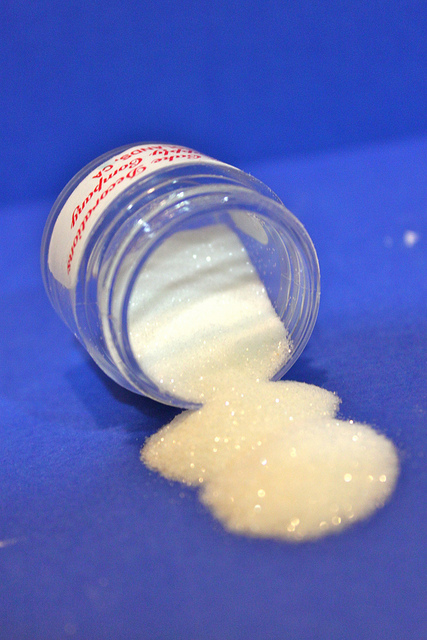
6216137975_20c9433d71_z
So to prepare your flowers, first layer them by dabbing a bit of water on top of the bottom layer. Then place the top flower directly on top. The water will make it stick.

6216142795_3ef40c9606_z

6216143035_4051e8eb82_z
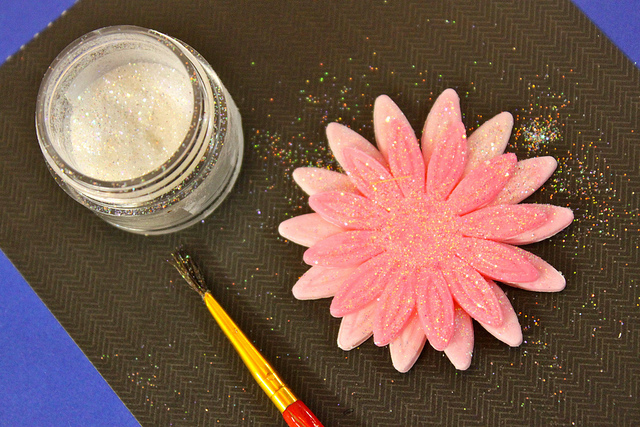
Then, to glitterize, simply wet the flower (lightly) with a paintbrush dipped in water.

6216726860_c3bbe51c81_z
Then dip your paintbrush in the glitter, and coat the flower until you've reached your desired glittery-ness! :-)
(Glittery-ness is now a word.)

6216661642_579ec576ee_z

6216145877_8e5d07a0d9_z

6216143801_9a76dab422_z
6216659570_b18d9fae6e_z
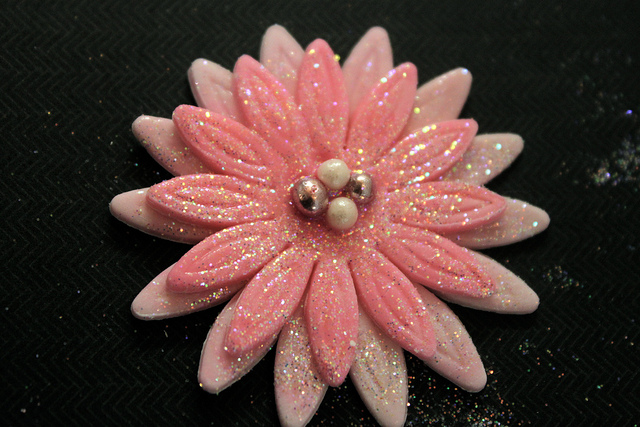
You can also put a dot of frosting in the middle, or what I like to do is use little silver sugar balls, (I buy mine locally, but you can buy those HERE online too.).

6216144053_4af899aae1_z
You just wet the middle, and press them in!
6216660182_2134f5905f_z
After you have glitterized it, the flower will be sticky because it's wet. Leave it to dry again for a few hours or overnight. You can put it back into it's the egg carton to shape it if you would like. Not the cotton ball because it will stick to it since it's wet!
There ya have it! SO easy! Come back soon to see what these pretty diva's are going on top on! :-)