

I've never been a HUGE fan of pie. The filling of pie's aren't something I die over...Really all that matters to me is the crust.
I mean, it's a carb for crying out loud. Mommy loves carbs.
If it were up to me, I would eat pie crust for dessert and call it Heaven.
Actually, I lied. I would MUCH rather eat a piece of chocolate fudge cake and call THAT heaven...But, since this post is all about pie, I'll budge just this once.
IMG_8568-1024x682
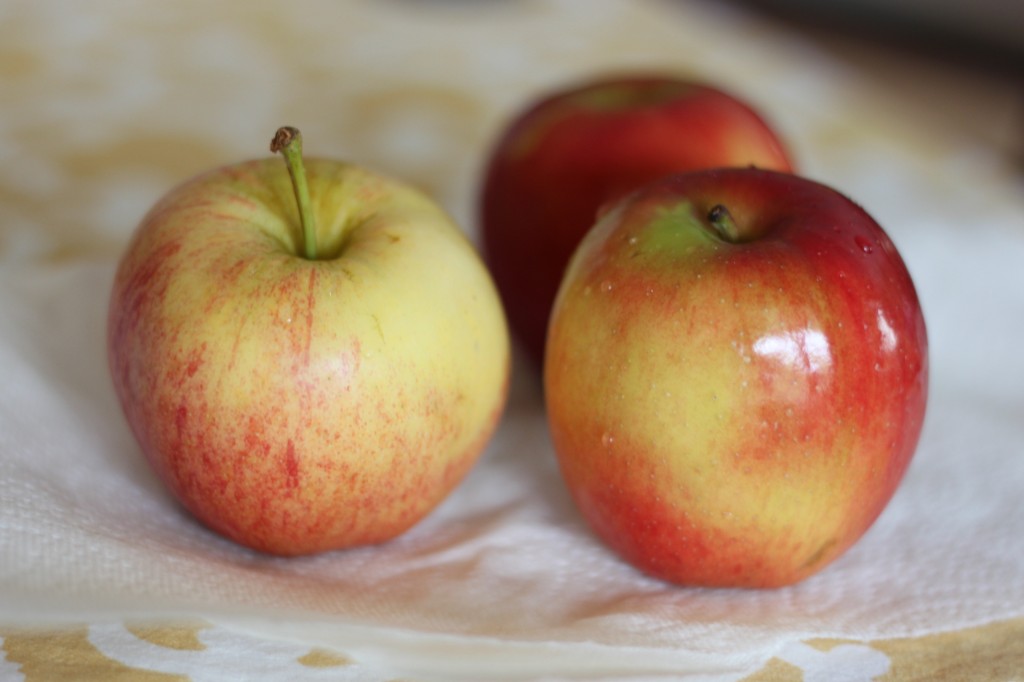
For the past month, I've had an abundance of untouched apples sitting in my fridge. I bought them thinking I was going to put them in the hubby's lunches, but somehow his lunch apples kept returning back into the fridge after he comes home at night.
That hubby...
Anyways, I decided I should probably do something with those apples that might intrigue the hubby more. In all honestly, he'd probably just prefer something without apples...But If you know me, then you know I don't really take into consideration what the hubby prefers when it comes to food choices.
Which is why come Monday morning I'm putting another apple in his lunch.
Best. Wife. Ever.

IMG_8725
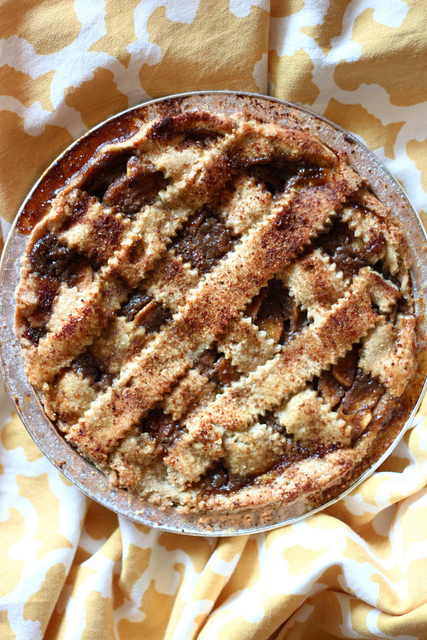
Apple Pie with Spelt Crust
Adapted from: The Pioneer Woman
Ingredients: (For the Crust)
1 1/4 c. spelt flour
1/2 c. coconut oil (cold/chilled)
1/2 TB. vinegar
dash of salt
1 TB. sugar
3 TB. cold water
1 egg, beaten
Ingredients: (For the Filling)
5-6 small medium apples, washed, peeled, sliced (thinly)
3/4 c. coconut milk, from a can
1/4 c. 100% pure maple syrup
1/2 c. date sugar
1 TB. spelt flour
1/2 tsp. cinnamon
1/4 tsp. nutmeg
Directions:
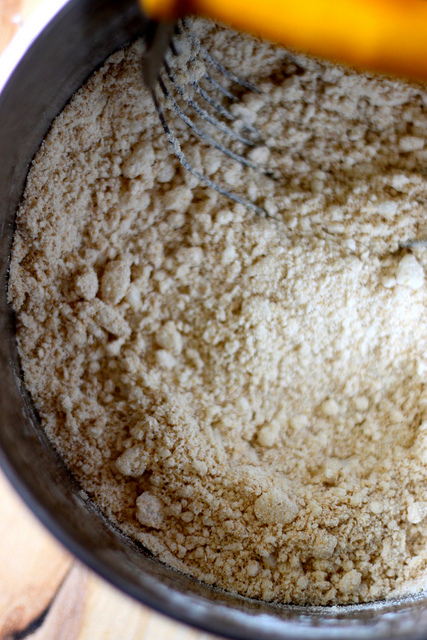
1. Begin by preparing the crust. In a medium bowl add your flour and coconut oil. Using a pastry cuter, break the coconut oil into the flour until fine crumbs appear and there are no large lumps left of oil. This may take some work, but that's ok! Count it as an arm workout :)!
7284559406_ff08785455_z
2. Next take your beaten egg, and take 2 TB from that egg and add it to the mixture, along with the other crust ingredients. (Save the extra beaten egg for later) Mix all ingredients together (you can do this with your hands!). Form into a ball. It will be a little sticky.
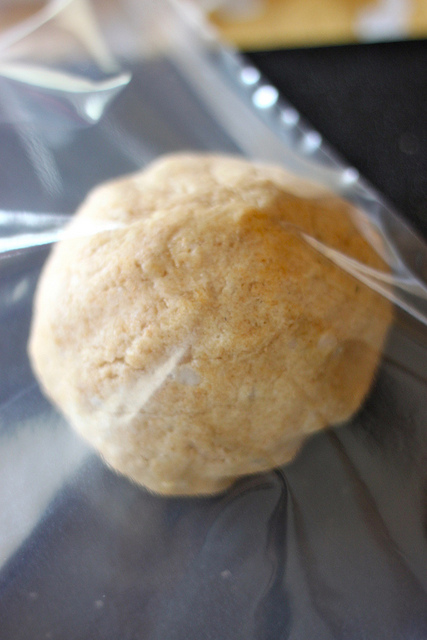
3. Divide the dough into two balls and place each one in a plastic bag.
7284534882_9cfcc222ce_z
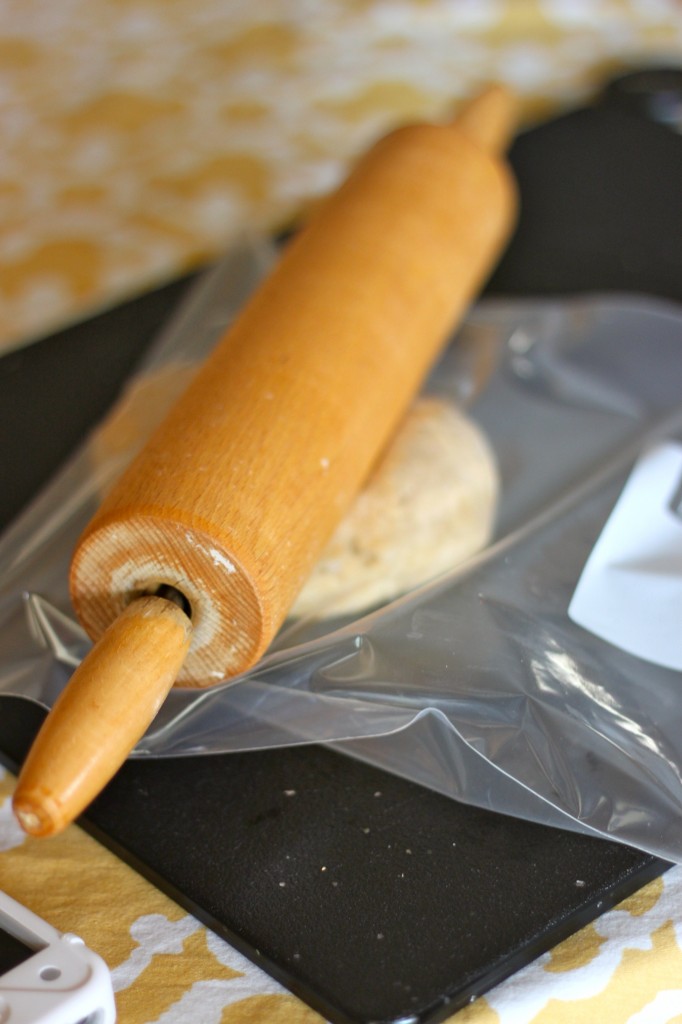
4. Take a rolling pin and flatten the dough a little bit just to get it started. Then place in the fridge to let chill for about 10 minutes.
IMG_8600-682x1024

7284534014_38e28fbb50_z
5. While the dough is chilling, make the filling for the pie. Peel and slice the apples and set aside.

IMG_8570-682x1024
6. Add the rest of the ingredients for the filling in a medium bowl and whisk together until thick and combined. Fold in the apples and set aside and get ready to prepare the crust.

7284535468_e4d979fc89_z
7. Prepare your workspace by dusting with some spelt flour.
8. Add your crust and sprinkle flour on top.
9. Depending on how long you let the crust sit in the fridge, (aka you had to change a diaper, feed the kiddo, play tea party, and dance to music), you may have left it in the fridge as longer than 10 minutes. In which case the dough may be a little tough, and crumble. That's ok, just start kneading the dough the best you can to loosen it up.
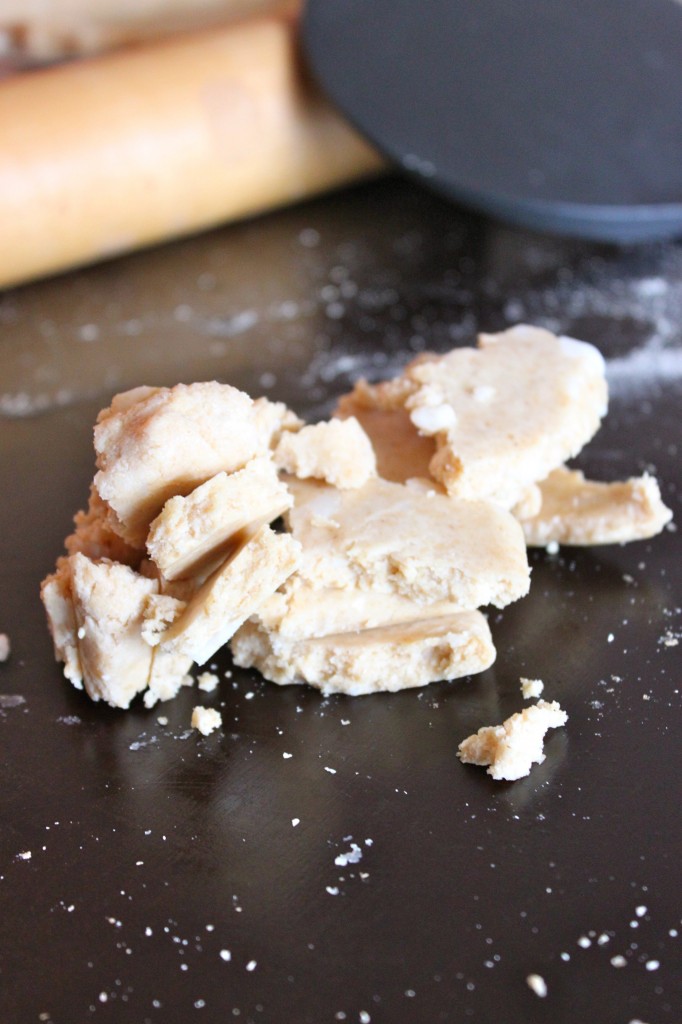
IMG_8696-682x1024
10. If you were smart, and left the dough in the fridge for a for only a few minutes, go ahead and still knead the dough with a few TB. of flour before you roll it out.

IMG_8697-682x1024
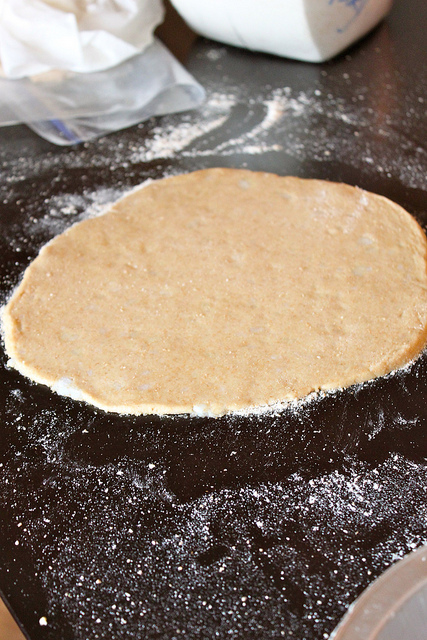
11. Once the dough is not as sticky and able to roll out, begin to roll it out. If the dough cracks as you roll, have a cry, and move on.

IMG_8676-682x1024
Simple add a little flour,

7284532620_ce6fbdc519_z
Push sides back together...

7284532094_eb88aa5aeb_z
And continue to Roll baby...
7284531492_b159670f59_z
12. Once you have the dough rolled out to a somewhat looking circle, use a spatula to lift up the dough and place in a pie pan.

7284530842_c8bfdacfa1_z
13. Press the dough into the pie pan so it fits nicely. You can do fancy things with the edge of the crust...But I didn't. I am challenged in that area...

7284530204_5d7a4b2409_z

7284529580_7f111f438d_z
14. Add your pie filling to the pie pan.
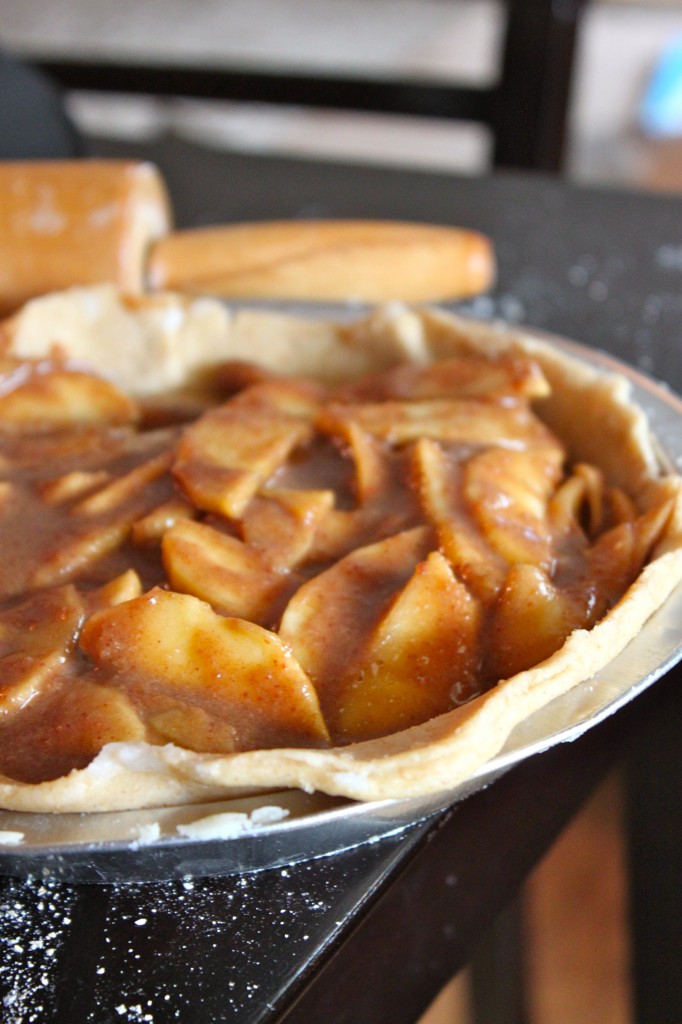
IMG_8698-682x1024
15. Do the same thing that you did to the first pie crust, to the second one. You can either place the whole crust on top, or you can try and get all crafty with the crust and cut it into strips and place them across the top. Press the crust and strips together.
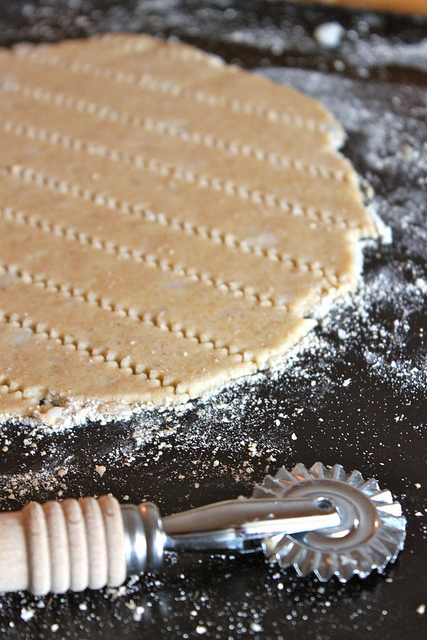
7284529074_97bb43a106_z

7284528448_9ae62fb40e_z
Brush top of crust with extra beaten egg,

7284527768_cc634a5c7a_z
Then sprinkle with a little date sugar.

7284526558_2a1f3245d5_z
16. Cover the pie with foil and bake in a pre-heated oven for about an hour. After an hour, you can remove the foil and bake for an additional 10 minutes if needed. You want the crust golden brown.
7284525210_c4d5180920_z
17. Serve warm, and preferably with ice cream. :) Coconut ice cream is the best!

7284524430_9af95a3cff_z
When ice cream melts over a warm pie...
Well, do I really have to say anything. It's pretty self explanatory.

7284525912_55c5cfc039_z
My advice would be to grab a piece, snuggle with the ones you love, and enjoy each and every moment.

7284533006_df4622de52_z
And if those moments last say....3-4 pieces later, I won't judge....
After all...I've eaten this pie for breakfast.
And lunch.
And dinner.
And dessert.
The End.